software licensed under the AGPL | download here | home page
Documentation
Hello, thanks for checking out dobrado!
Your feedback to this documentation is welcome, please report an issue here if you have questions or comments.
Getting Started
If you're a developer wanting to work on dobrado, please follow these set up instructions.
The following information is for users of the software who want to learn about creating web pages.
The following information is for users of the software who want to learn about creating web pages.
What is dobrado?
dobrado is a multi-user content management system that does not use page templates. All editing is done through the web pages themselves, via inline editing and page creation tools.
Page structure
Users have permission to create and edit pages under their own directory. For example if there was a user named "me" on dobrado.net, they would be able to edit dobrado.net/me/first-page, or any other page they want to create, under dobrado.net/me. Also the page "index" is returned when no page name is given, which makes dobrado.net/me also a valid url.
The special case in this page structure is the admin user. This is the first account created when setting up dobrado, it creates pages under the top level directory rather than a sub-directory.
The special case in this page structure is the admin user. This is the first account created when setting up dobrado, it creates pages under the top level directory rather than a sub-directory.
Creating Pages
To create a new page, enter the name you want to give it in the new page... input on the right hand side of the control bar, and press enter. This will take you to the new page, where you can start adding content.

Editing pages
All the options you need to edit pages are in the control bar, which is only shown when you're logged in to your account. The buttons on the left hand have two modes, normally they show a home button, account menu, notifications menu, messages and tools.
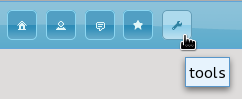
Click the tools button, this will show you another set of buttons that are used for editing the page.
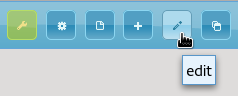
The buttons shown in the tools section depend on what permissions you have for the current page. If you have permission to edit the page, you will see the edit button, which you can click on. This puts the page in edit mode:
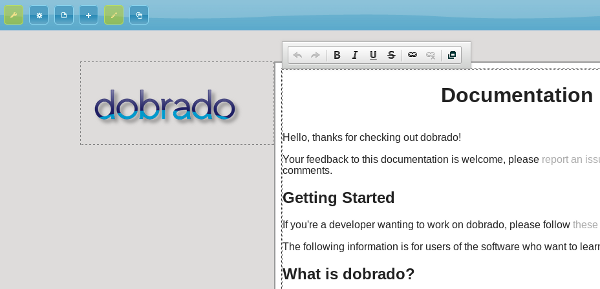
Areas bordered with a dashed line show the modules that can be edited. Editing can be done inline, or via an extended editor that opens in a dialog with more editing options. This is opened by clicking the extended editor button in the inline editor. When editing inline, changes are saved whenever you switch between modules, or exit edit mode by clicking the edit button again in the control bar.
Click the tools button, this will show you another set of buttons that are used for editing the page.
The buttons shown in the tools section depend on what permissions you have for the current page. If you have permission to edit the page, you will see the edit button, which you can click on. This puts the page in edit mode:
Areas bordered with a dashed line show the modules that can be edited. Editing can be done inline, or via an extended editor that opens in a dialog with more editing options. This is opened by clicking the extended editor button in the inline editor. When editing inline, changes are saved whenever you switch between modules, or exit edit mode by clicking the edit button again in the control bar.
Adding modules
If there are no modules on the page, you will need to add some before you can add any content. From the tools menu, click the add button to show the add menu.
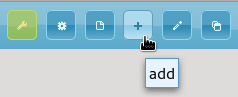
The add menu can be configured to show different modules that can be added to the page. The simplest module for adding content to the page is called the Text Area module.
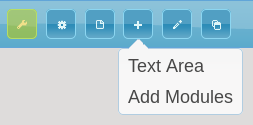
When you select the option from the menu, a new Text Area will be added to the page. You can drag and drop your new module to the location you want, there are five different regions. The default is middle, there is also: left, right, header and footer. You can also change the order of modules within each region.
The add menu can be configured to show different modules that can be added to the page. The simplest module for adding content to the page is called the Text Area module.
When you select the option from the menu, a new Text Area will be added to the page. You can drag and drop your new module to the location you want, there are five different regions. The default is middle, there is also: left, right, header and footer. You can also change the order of modules within each region.
Installing Modules
To install a new module on your website, click Add Modules shown in the add menu above. The following dialog will be displayed:
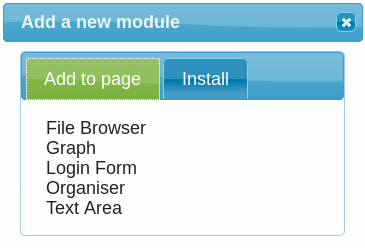
This will show you the currently installed modules on the site. You can add them to the page by clicking on their names. To Install a new module, click on the Install tab:
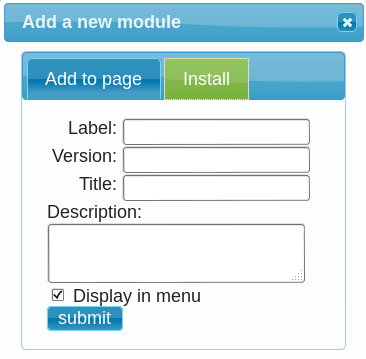
You will need to know the name of the module you want to install. All the other fields are optional, once you've installed a module it will appear in the Add to page tab like the other modules.
This will show you the currently installed modules on the site. You can add them to the page by clicking on their names. To Install a new module, click on the Install tab:
You will need to know the name of the module you want to install. All the other fields are optional, once you've installed a module it will appear in the Add to page tab like the other modules.